Publish Booking Form
Before publishing a booking form, choose and configure the form type you want to use. If you’re not sure which form is best for your setup, see Choose a booking form.
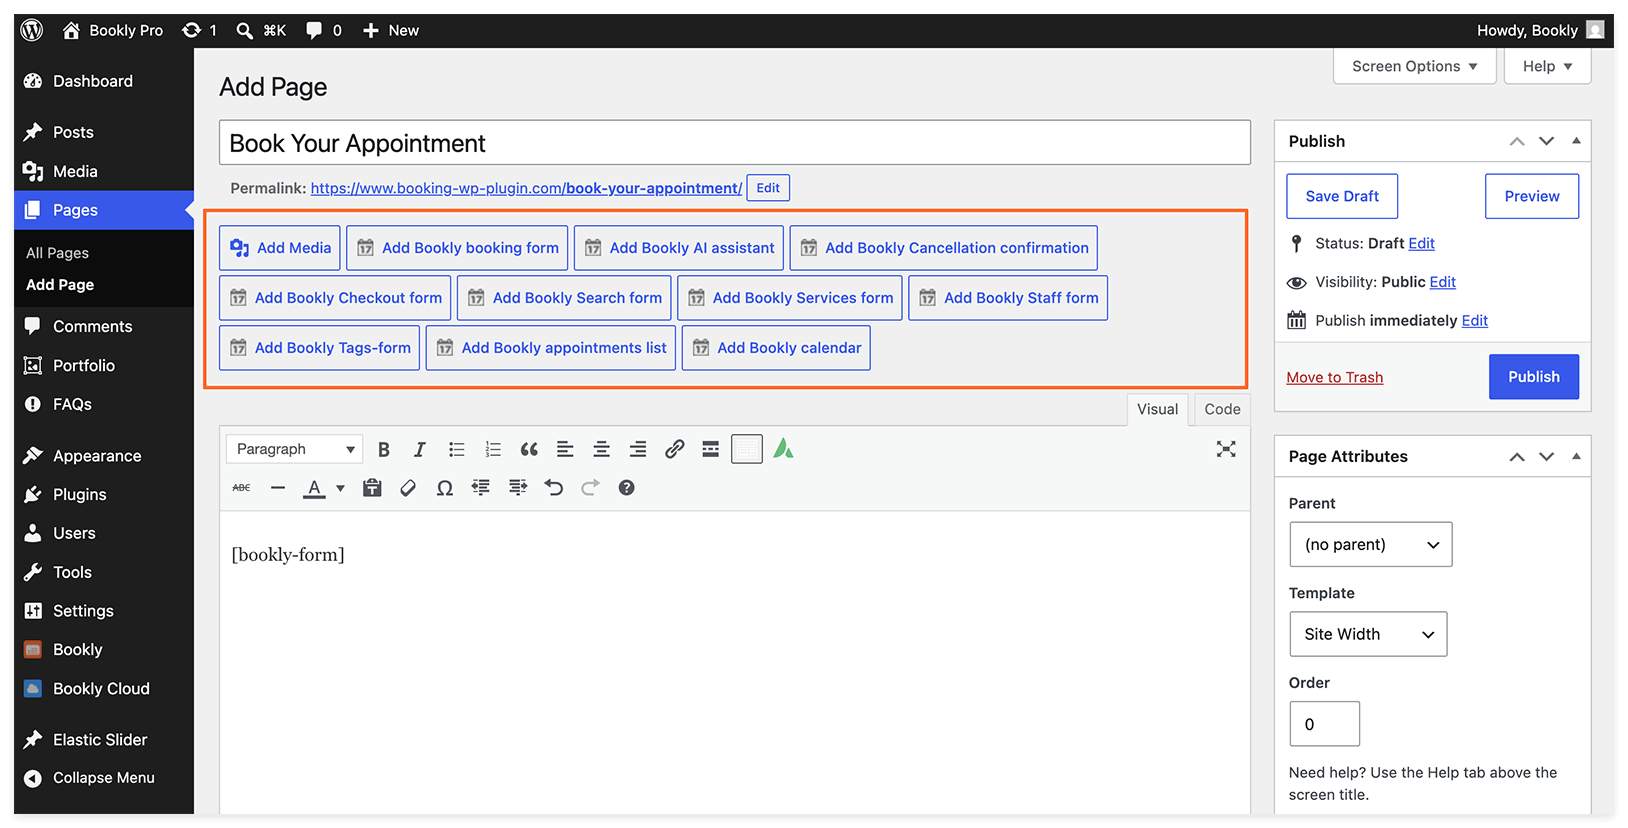
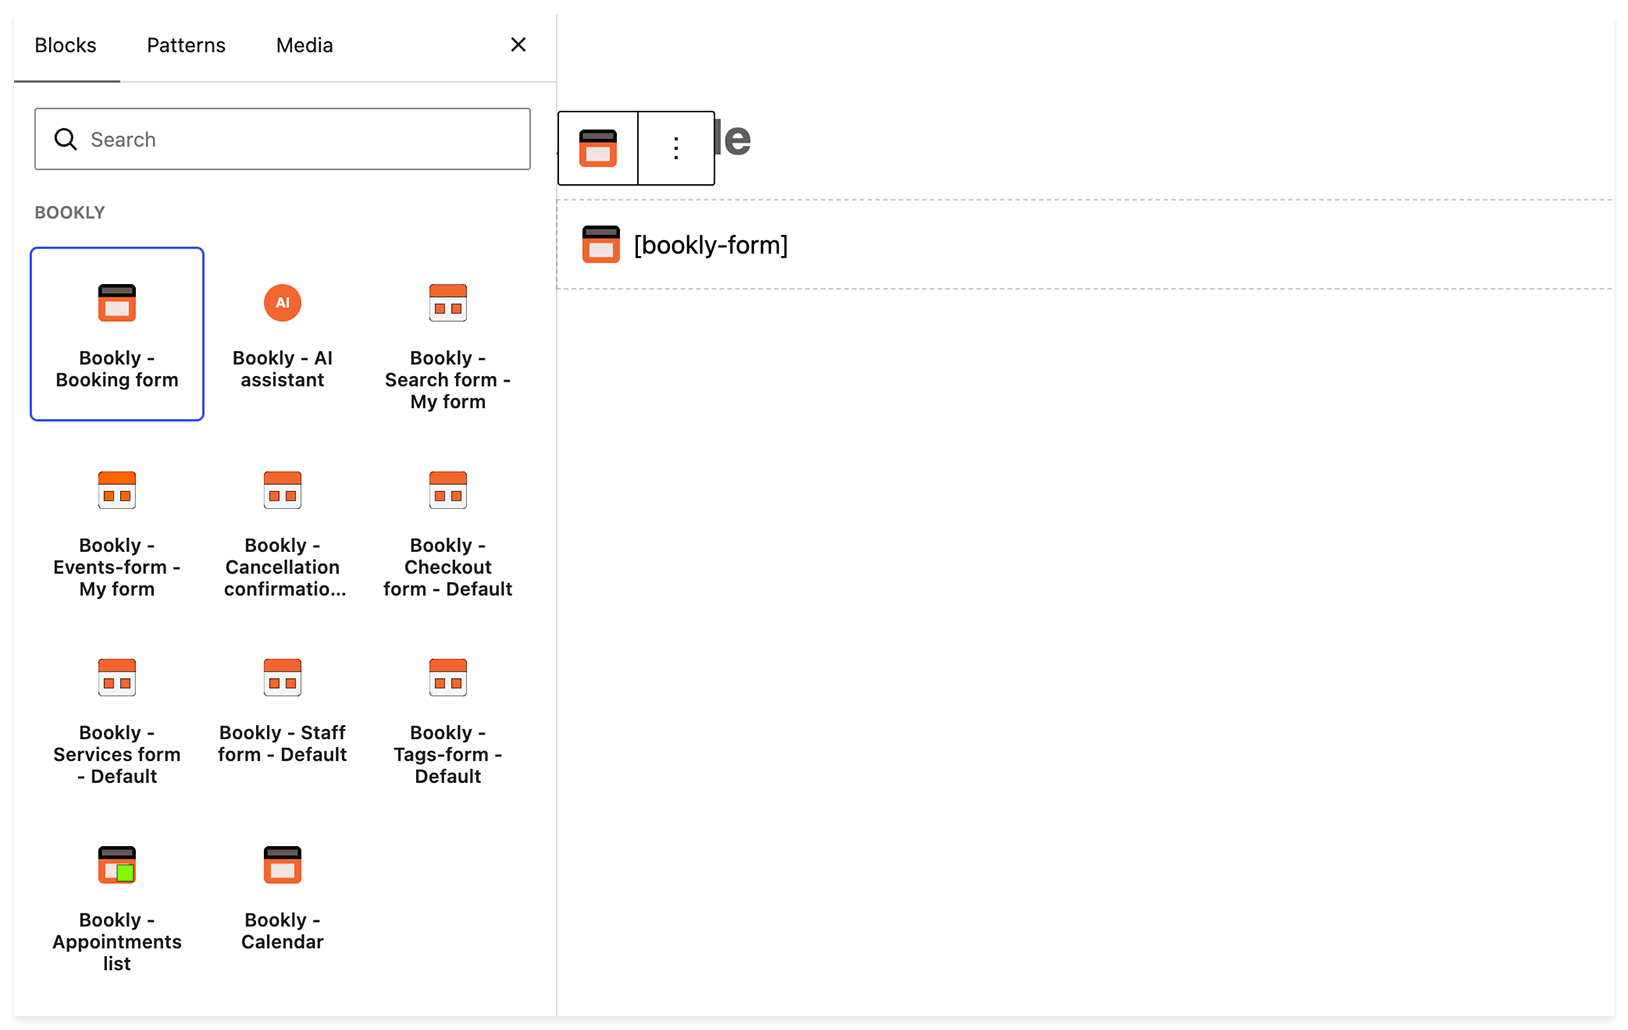
If you’re using the Gutenberg editor, click the + icon and explore all available Bookly blocks.
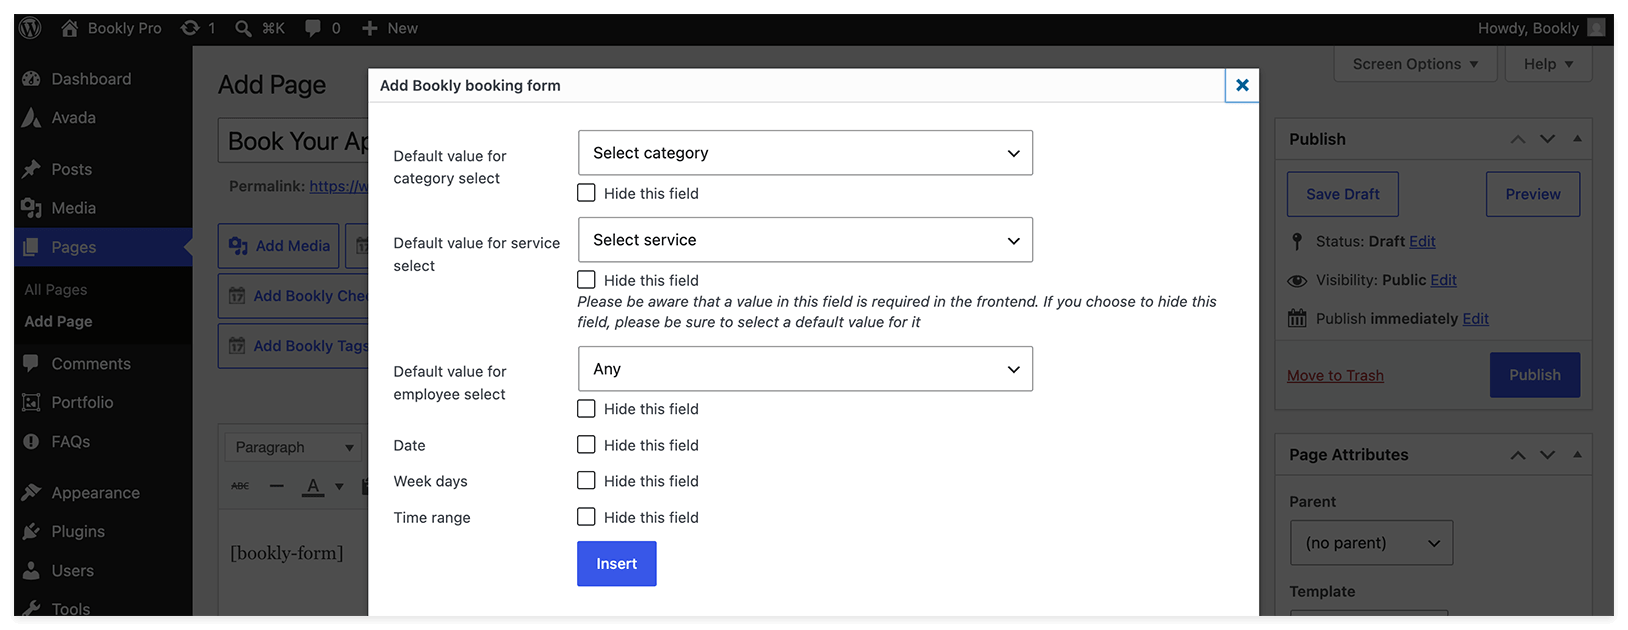
In the form settings, choose which fields to show or hide. If you hide a required field, select a default value for it.
Customize modern booking forms in Bookly > Appearance. Learn more in Modern booking forms.
Within the Gutenberg editor, these settings can be found on the right side.
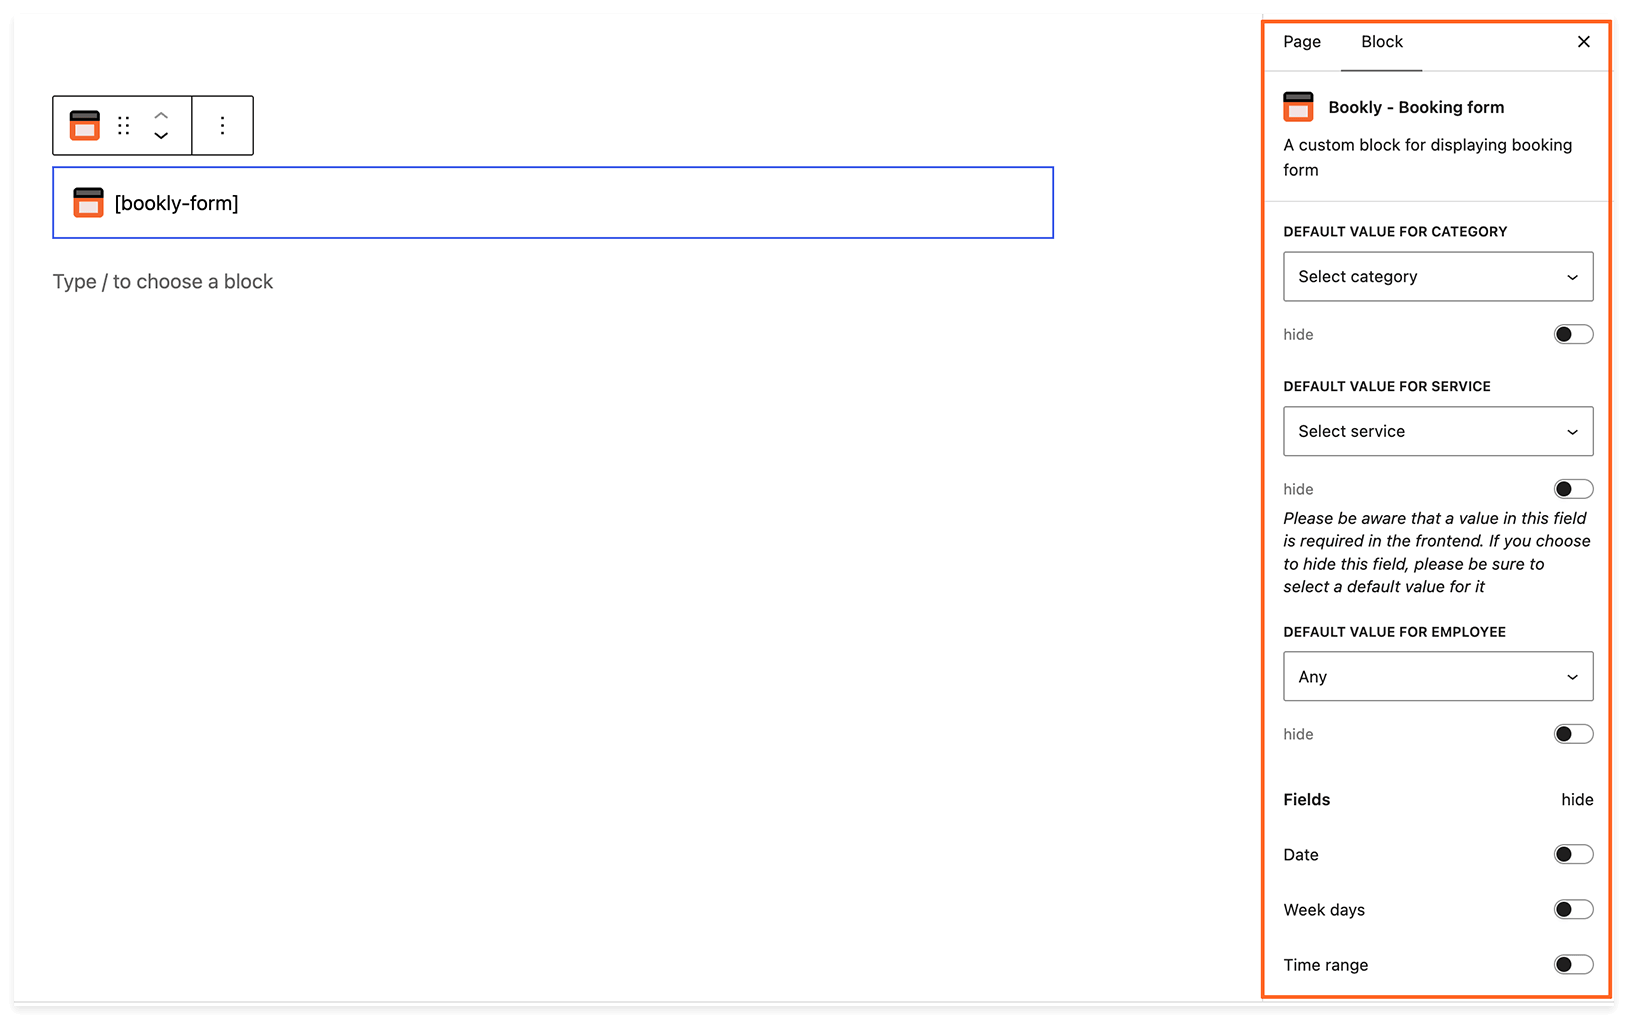
- Categories of services
- Services
- Employee
When any of these fields are hidden, you must choose a default value because each appointment requires these properties.
- Number of persons – lets clients book multiple spots in the same appointment, like a group class. Requires Group Booking (Add-on).
If hidden, all appointments will be booked just for one person. - Date – preferred date and subsequent dates for offering time slots.
- Week days – specific days of the week for offering time slots.
- Time range – preferred appointment hours during the day. Customers will then be offered time slots within these hours only.
Click Insert, and the booking form will be added to your page.
If you’d like to have the booking form on multiple pages of your site, simply repeat the same steps for each page where you want to include the form.
All appointments generated from these booking forms will be centralized in one admin area – your Bookly Calendar and Appointments list.
DEMO VIDEO TUTORIALS MAIN BOOKLY SETTINGS FAQ ADD-ONS
RELATED
Basic Setup
GOOD TO KNOW
Custom Fields (Add-on) in Booking Form to ask custom questions and get more info from clients during booking.
Multisite (Add-on) – if you need to add the booking form to several websites of different businesses.
WPML Plugin Integration – to translate booking form interface and notifications from English into 40+ other languages.